Birthday Fun!!

Well, it's my birthday today and you can all celebrate with me!  How does 20% discount sound????  Keep reading......

First I wanted to show you the cutest box that we made at our Stampin' Up! Annual Convention last month.  It makes the perfect box for the perfect occasion.  Like birthdays :0)


So, wouldn't you love to receive a box like that?  I know I would.  Especially when the original box looked like this:


Stampin' Up! just make the plainest things, so much better.  Just by adding a few layers and embellishments, you have the WOW factor!!


And I just love the layered flower.  You might note there are a few sneak peeks here.  Of products for the upcoming catalogue {wink wink}.


And all birthday boxes need a tag, with a butterfly too!


And so you have it, the perfect little box for the perfect gift.  Want to know more about this project, just email me and I can give you the details on measurements, colours, layers etc.

Sooooooo, back to the birthday offer.  For one week only (ending Wednesday 4 July 2012), you can have my demonstrator discount of 20% for all orders.  You just pay the price of the order less discount plus postage. 

Please note this offer (discount) is only available through me as an Independent Stampin' Up! demonstrator and not from Stampin' Up!.  It's only available until Wednesday 4 July 2012.


Reason to Smile - last days


Eek!! The month of June is going by way too fast (I should know as it's almost my birthday) and that means it's the end of the fabulous Reason to Smile promotion.  Where you can reward yourself with a FREE stamp set or purchase the Reason to Smile for a fabulous price.  Need some inspiration why you just have to have the set?  Well here you go:

Happy Birthday Wishes gift bag

Stamps:  Petite Pairs, Reason to Smile*
Papers: Daffodil Delight, Rose Red, Whisper White Card Stock & Window Sheets
Inks: Early Espresso, Pretty in Pink, Rose Red Classic Stampin’ Pad® & White StazOn Ink Pad
Accessories: Daffodil Delight 1/8" Taffeta Ribbon, White Baker’s Twine, Bitty Buttons, Stampin’ Dimensionals®, 1/2" Circle Punch, 1-3/4" Scallop Circle Punch, Big Shot™,Fancy Favor Bigz™ XL Die & Labels Collection Framelits
 

‘E’ scrapbook page (8" x 8")

Stamps: Letter It & Reason to Smile*
Papers: Baja Breeze, Island Indigo, Whisper White & Wild Wasabi Card Stock
Inks: Baja Breeze, Island Indigo, Wild Wasabi Classic Stampin’ Pad®,  Baja Breeze & Basic GrayStampin’ Write® Marker
Accessories: White Baker’s Twine, Neutrals Designer Buttons, Scallop Edge Punch

Dream card (4" x 4")

Stamps: Loving Thoughts & Reason to Smile*
Papers: Whisper White Card Stock & Wild Wasabi Card Stock
Inks: Certainly Celery, Pretty in Pink & Wild Wasabi Classic Stampin’ Pad®
Accessories: White Baker’s Twine & Dotted Scallop Ribbon Punch
 
So to recap, this fabulous offer runs out on 30 June 2012.  To get your hands on this great little stamp set, contact me ASAP!!  For more inspiration and ideas, head on over to my Stampin' Up! website.  You'll find yourself fabulously inspired!!
 
*Get this exclusive set FREE with a $125  purchase—only available through 30 June 2012! 

Under the Big Top

Well, I have to say this week is going by very fast but my blog posts are coming very slowly.  I promised a week's worth, so that I will do.  Might just go over the week {wink wink}!!

So this project is part of a workshop series, from the Stampin' Up! Regional Workshop last year.  While my dad's wife was visiting us, we both took the opportunity to do some stamping and this cute little set came together!!


This little project is great for birthdays.  Four little note cards are nicely held in this cutest little box.  Together these can make a wonderful gift, or a stash of birthday cards when you need them!!


We made two of each design.  Aren't they cute?  I just love the circus animals!  And the colours are so bright, perfect for kids!!

Here's what we used:
Stamps: Under the Big Top
Papers: Whisper White, Real Red, Old Olive, Daffodil Delight, Tempting Turquoise CS & Big Top Birthday DSP
Inks: Staz On (Black), Crumb Cake, Real Red, Daffodil Delight & Tempting Turquoise
Other: Blender Pen, Oval Punches, Circle Punches, Dimensionals & Daffodil Delight 1/8" taffeta ribbon

I will be sharing the other projects from this workshop real soon PLUS I have the instructions for them as well.  So be sure to contact me if you would like to make this workshop set at home :)

Birthdays!

I'm back!!  Actually I'm supposed to be at work today but little Jess coughed and cried all night long, so I thought it best to keep her home.  With a bit of a temperature and her sore throat, I'm sure she would rather be warm at home.  I've just  put her down for a nap.  Fingers crossed for me, we'll see how that goes (maybe the coughing might slow down to let her sleep).

Anyway, the house is quiet.  Our guests from Melbourne left this morning and I've caught up on chores.  Now I can catch up on me time!!

So I promised it was going to be a week about birthdays, so here goes the next one!!  Just over a week ago, it was my son's 9th birthday.  I had to make him a card that wasn't cute and had to be cool.  So I came up with this one after doing a google image surf:


You can't get cooler than that!!  I actually dug out my old punch to do the tab line along the top of the red strip.  I can't even remember how long it was since I used that punch, or maybe, if ever!!


Ta Dah!!  The whole card.  I dug into my old stash of papers, some of which may have retired.  I needed bright, cheerful and 'cool' colours of course!  I hand cut my 'flags' and sentiment banner, thank goodness for good scissors.  I do not cut straight!!

Here's what I used:

Papers: Green Galore (ret.), Ballet Blue (ret.), Real Red, Whisper White, Basic Black & DSP
Stamps: Happiest Birthday Wishes
Ink: Basic Grey
Other: Riding Hood Red Bakers Twine, Big Shot, Polka Dot Embossing Folder, Timeless Type Junior Alphabet Dies, punch & dimensionals.

Now I should qualify my statement of using old papers.  I still have many of the retired collection and not so much of the new Brights Collection, so if you need bright coloured cardstock for kids, I recommend that collection.  Thoroughly.

So when looking for inspiration to make cards, especially for boys and kids, try a google image search using 'Stampin Up birthday cards, kids, boys'.  You'll find so many cards on blog-land.  Just like this one that I was inspired by.

Sneaking in with a Birthday Hi!

Sshhh, don't tell anyone!!  I'm sneaking onto the computer for a quick blog post.  It's birthday week at my house.  Of my three kids, two of them are celebrating their birthdays this past week.

My big boy Luke celebrated his 9th birthday on Sunday and Jessica celebrated her 2nd birthday yesterday.  We've also been blessed with a visit from my dad and his lovely wife to help with the birthday celebrations.  So I thought, why not show some of the birthday cards I've been making or made in the past.


This is a card I made for my nephew who turned five a little while ago.  This is a revamp of the original card (and NO I won't be sharing that one!!), that I updated with some new product.  Yes you heard me right, sneak peeks of new products coming out in September with the new Catalogue!! 

This card is a great one for those cards that are difficult to make for boys that don't do cute anymore.  Some scraps of DSP, punched starts and the all important number 5.  Card is done.  Bakers twine was also used for interest.

So...... as it turns out my husband saw me typing this and laughed at my first comment.  So I'll sign off here and come back with more cards I have made.  It's birthday month actually, so lots of cards to share :0)

I love .....

I love the Mixed Bunch stamp set, I love the coordinating Blossom punch.  I love flower, I love pink and I love Bling.  So put them all together and what do you get?  A card, well two actually, featuring my favourite things!!


And I also made a card for my friend celebrating her year's anniversary with Stampin' Up!.  Of course, I made more pink .....


And yes, if you're thinking you've seen this sort of card before.  Well you have!! I used this design for my Convention swaps, but had to make some more for my own use.  Click on this link for the info.


So, I used pretty much the same technique and style *no genius moments* and just changed the colours.  And you know what, I love yellow too, so I'm happy with both combinations.  Love the cards, I do I do!!  Might make more of these cards and maybe share my tip for making the glitter stick!!

Stamps: Mixed Bunch
Cardstock: Crumb Cake, Whisper White & Melon Mambo
Inks: Melon Mambo & Early Espresso
Punches: Blossom, Pinking Hearts Border & small circle
Other: Stampin' Dimensionals, Chunky Glitter & Crochet Thread


Simply Scored News!


Have you fallen in love with the Simply Scored Tool from Stampin' Up!????  New to the Autumn-Winter mini catalogue, it's the perfect tool for making perfect score lines, fold lines and decorative lines.  But do you want to do more???


Well from 1 July 2012, you'll be able to purchase the Simply Scored Diagonal Tool Plate, which means you can do so much more!!  Envelopes, diagonal lines, fancy folds, boxes and MORE!!.

Watch on for how to use the Simply Scored Diagonal Plate:


Need more info?  Want to order one?  Just contact me and we'll get your lines diagonal!!

Smile

So you've got the free stamp set aka your reason to smile?  Well, a few of you have been asking about the supplies needed to make the featured Stampin' Up! Reason to Smile projects.


Well guess what?  Follow this link and download the flyer with the full supplies list.  Need help with the projects or any of the supplies, please contact me - I would love to help!

Tea for Two - Last Swap

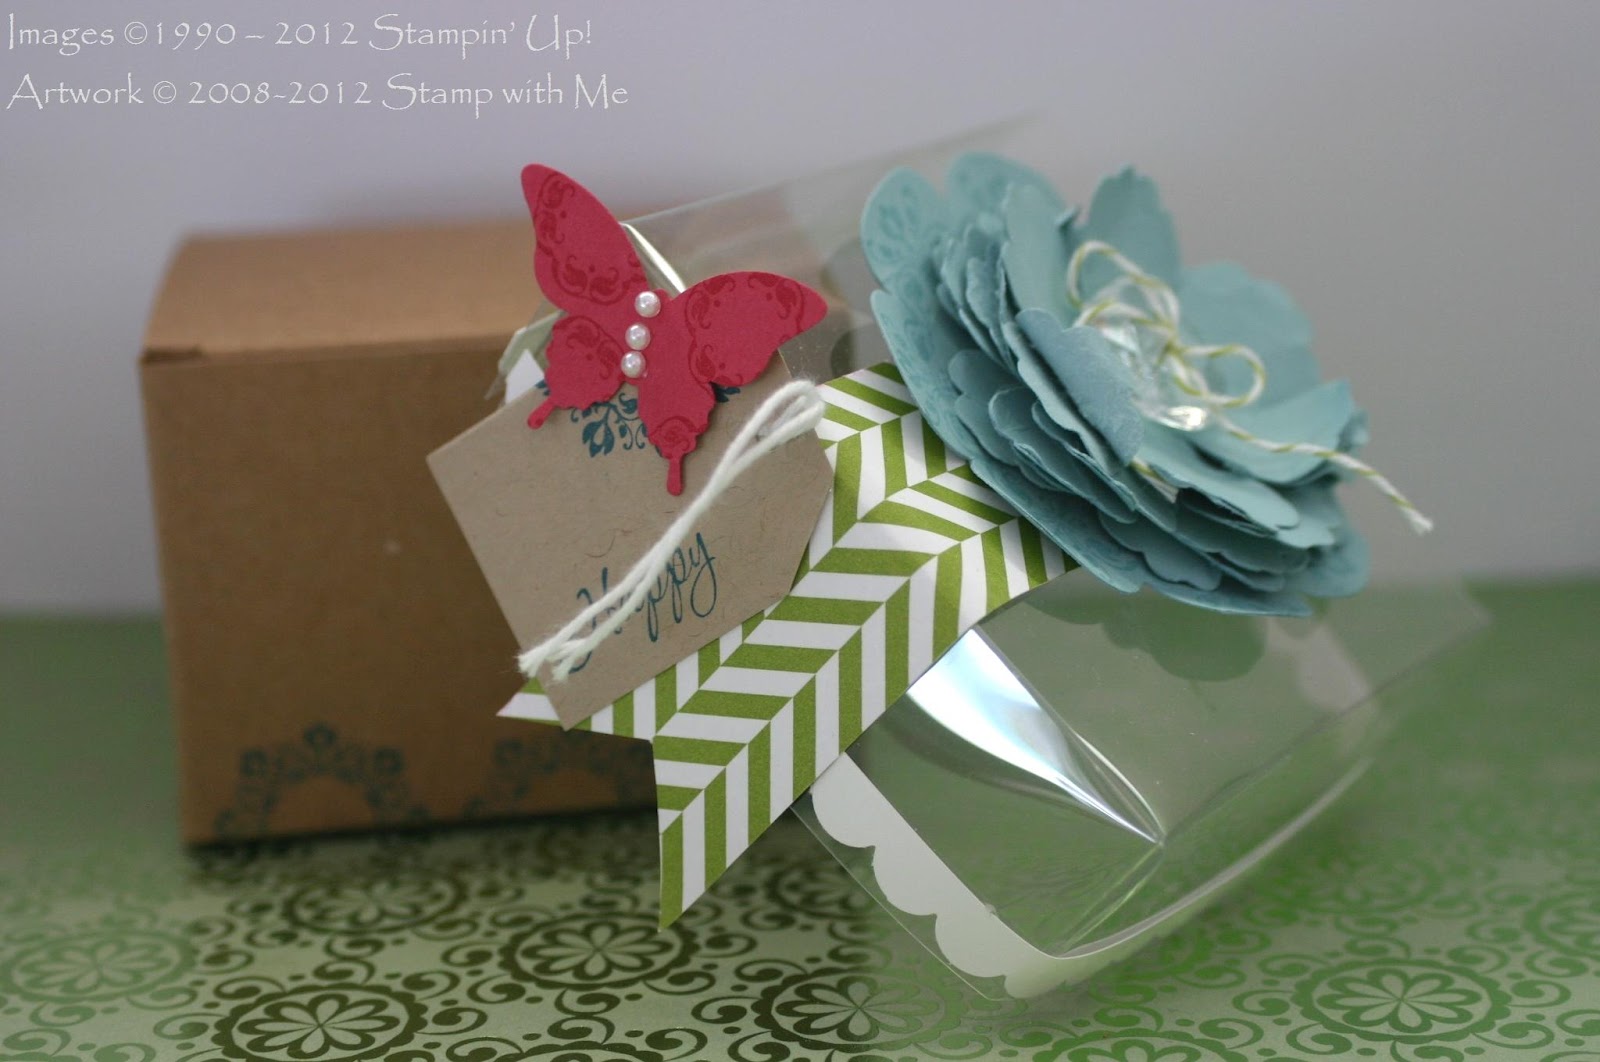
This is my last swap of the convention, I swear!!  I will caveat that with the fact I received lots of swaps in return and would love to share them with you soon.  But as for me, this is the last.  It was a last minute swap, as they had sat on my table unfinished but a dose of inspiration from the first day of convention helped me finish them.  These were made at night and hence the dodgy photos, but you will surely get the general idea :)

Did you notice the little flower on top?  I used the Itty Bitty punch to cut a flower from the DSP!!
So grab yourselves a cuppa (I did), and have a look at these!!  These first few little Tea Sachets were based on a template I had purchased online (contact me for further info) and I made them up as they were designed.  They had a double pocket inside to hold two tea bags.  

I used the adorable papers from the Sale-a-Bration range, which I still just LOVE!!  This first sachet opens up with the papers on the inside.

 This second sachet uses the Subtles DSP patterns pack on the 'outside'.  Both are a great way of using up your favourite pieces of DSP.  I have used velcro to keep the sachet closed.  I also decorated both the inside and outside with the Tea Shoppe stamped images and some little punches here and there.  Those itty bitty punches are just adorable!!


Anyway, in my excitement of making a little project *that was kind of quick* I then realised I didn't have enough tea bags in the pantry.  Remember, it's night-time, it's Canberra Winter and I didn't want to go outside to the shops!  So I adapted the design to make it just a one tea bag holder.

Using Melon Mambo Cardstock and matching DSP

Pink Pirouette CS and Melon Mambo DSP

Certainly Celery DSP & CS

Pacific Point CS & Certainly Celery DSP
I used my Modern Label punch, sponged the edges with matching ink and used punch-outs from the Itty Bitty punch range and Boho Blossoms.  Of course a little pearl was a cute touch.  With these swaps, I didn't use Velcro but made sure the flap of the sachet tucked under the label which successfully held it in place.  There's always work arounds, especially when the velcro would have just ripped up the papers!!

And as a side note, I have bought some more tea!!

Here's what I used:
Stamps: Tea Shoppe
Papers: Poppy Parade, Melon Mambo, Certainly Celery, Pacific Point, Pink Pirouette, Whisper White, Early Espresso and So Saffron CS and coordinating DSP (Everyday Enchantment or Subtles Pattern Pack)
Punches: Scallop Oval, Oval, Boho Blossoms, Itty Bitty & Modern Label
Other: Pearls, sticky strip, Blender Pen & sponge daubers

ps this took longer to write than anticipated.  My last mouthful of tea was cold.  Uurgghh....

Another Swap - No. 3

OK, it's Monday night here in Canberra and I've given up on the disaster of scheduling in advance my posts while at Convention!!  They lost my pic's and I have no clue why.  So start again.

 Now there were almost 500 Stampin' Up! demonstrators at the SU Convention, so that's a lot of swaps if you're keen.  I think I made between 20-30 swaps and even gained a few more in return from very kind ladies who had swaps to share.  So after swaps 1 and 2, I just had to make something different.  So when I saw these little butterflies, I was hooked .....


And honestly, if you want to talk combinations, don't butterflies and chocolates tempt you!!


Of course I have used my favourite punch again, can you tell?  It's the Blossom punch.  All you need to do is cut off two opposing petals and it makes the perfect butterfly shape.


And of course, for the perfect little butterfly I added some white chocolate Easter Eggs that were in my pantry (and yes they were well and truly within date - use by December 2012!!).


I punched little ovals for the base and curled paper strips for antennae.

Here's what I used:

Stamps: Mixed Blossom
Inks: Melon Mambo, Lucky Limeade & Pacific Point
Papers: Whisper White, Melon Mambo, Lucky Limeade & Pacific Point CS
Other: Blossom & Oval punch, lots and lots of glue dots!!

And as I'm an honest sort of girl, I should make it clear, this idea is not mine.  I saw it on the blog of Sarah's Ink Spot, so I suggest you head on over there as she gives lovely instructions so you can make it too!!

A great reason to SMILE!!

A reason to smile!

Need a reason to smile? Stampin' Up!'s got it during June with a brand-new stamp set!


You'll smile during June with the exclusive Reason to Smile set-only available during this special offer! Get it in two different ways:

1. Get it for FREE with a $125 purchase!*
2. Purchase it at the regular retail price-no additional purchase necessary!

Description
Wood-Mount
Item
Wood-Mount
Price
Clear-Mount
Item
Clear-Mount
Price
Reason to Smile Set
130826
$35.95
130828
$28.95

*Only one free set per customer

Contact me today to get yours and discover your reason to smile!

Click here for your Reason to Smile Flyer

** Only available between 1 - 30 June 2012**

We {heart} our Hostesses

We {heart} our hostesses!
I love my hostesses, we love our hostesses and Stampin' Up! absolutely loves our hostesses.  So during the months of June and July 2012, our hostesses are going to be rewarded even more!

So between 1 June and 31 July 2012 bask in the extra $90 in FREE products you’ll receive when you host a friend-filled qualifying* party that celebrates your creativity. With hundreds of innovative products to choose from, there’s never been a better time to party!

To earn your extra rewards, hold a workshop with the minimum sales of $650 and see how many rewards you earn and products you can buy with your rewards!
Ready to have fun with friends and free products? Contact me today! 

Click here for the flyer with all the information you need! 
 You can hold a workshop or a catalogue workshop!
*Minimum $650 party, your workshop party sales does not include shipping!

Convention Swap 2

And here's a card I made earlier!!  Ha Ha, I did make this one earlier!  I just didn't want to show the world before I swapped these at the 2012 SU Convention.  I really like this one and love the little touch of glittery bling!!


I of course made more than one, these cards were too pretty to resist!!


The card can look so different, just by where you add your embellishment.  Such as moving the flower up or down the side length. 

I just had to show a close up of the flower.  Isn't the centre just gorgeous with the chunky ribbon.  You can also see my yellow thread/twine.  I coloured plain white with some ink.  Cool huh!!

Here's what I used:
Stamps: Just Believe & Mixed Bunch
Cardstock: Crumb Cake, Whisper White & Daffodil Delight
Ink: Versamark & Daffodil Delight
Punches: Itty Bitty Shapes Pack & Blossom
Other: Champagne Glass Glitter , twine

Editors note:
I apologise profusely to those who read this post earlier today and only got text and the supplies list.  My pictures and extra text completely disappeared through the advance scheduling of the post :(  Lesson learned, to check, check and just in case check again!!  I hope you like the improved post :)

LinkWithin

Blog Widget by LinkWithin
Blogging tips